As a home lab enthusiast, I’m always looking for innovative and cost-effective solutions to solve problems efficiently. I’ve learned that not every project requires a robust server to run.
After building a powerful Proxmox server for my lab experiments, I realized that some of the applications I found useful for my day-to-day needs at home needed to be running 24/7. However, leaving my super server connected all the time wasn’t practical. So, I needed a solution that was less power-hungry, easy to deploy, and scalable. That’s when I thought, why not use a Raspberry Pi 4?
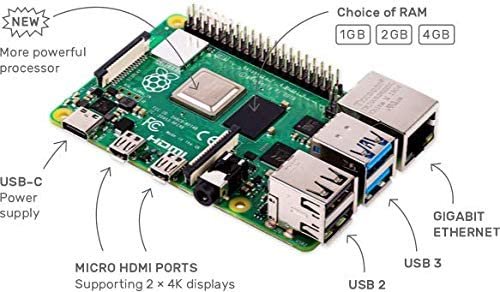
My peak was the highest end model available the Raspberry Pi 4 Model B 8GB:
The Argon ONE V2 Case – The Perfect Companion
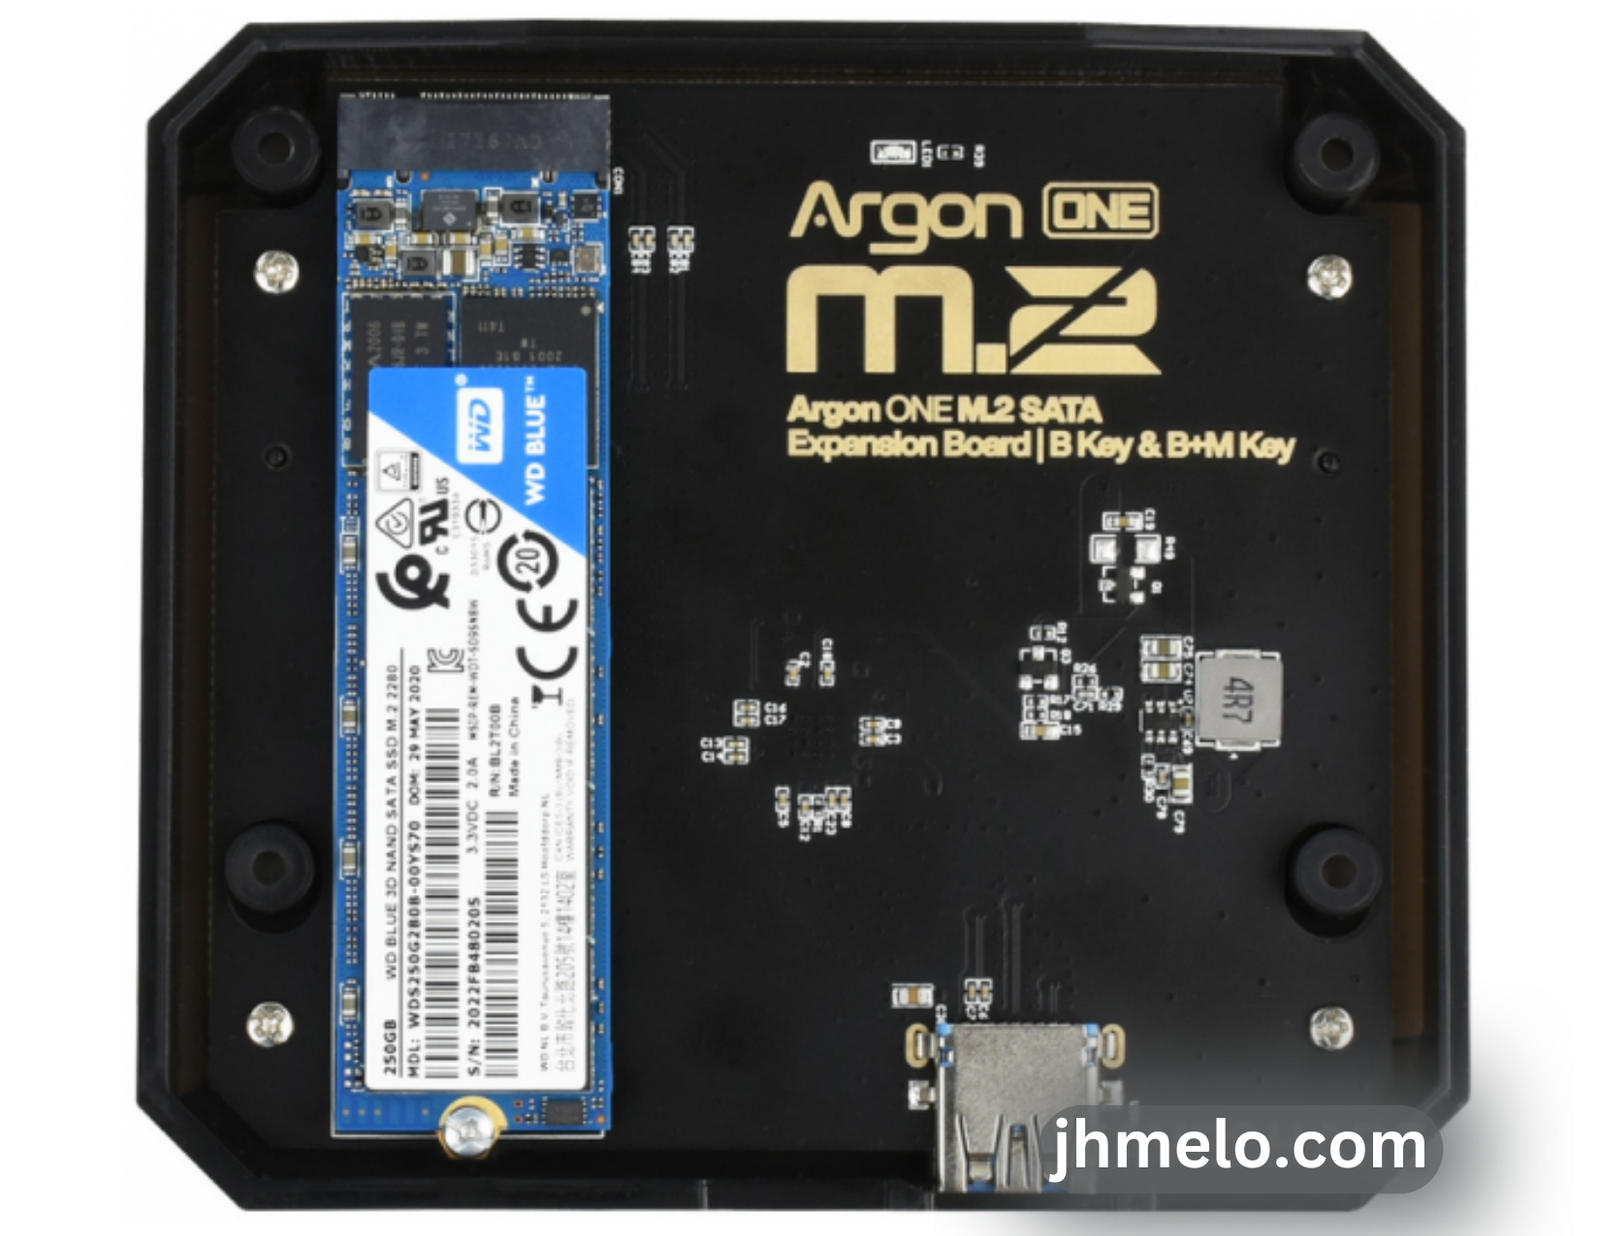
But, I didn’t want just any old Raspberry Pi setup. I wanted something that was sleek, elegant, and easy to use. And that’s when I stumbled upon the Argon ONE V2 case::
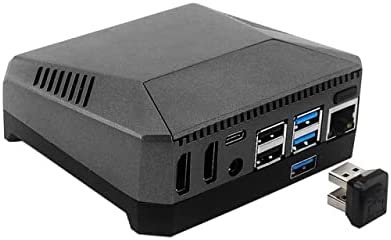
It’s a high-quality case that provides excellent cooling and easy access to all the ports. Plus, it even has the option to add an M.2 SSD for lightning-fast storage, which was a no-brainer for my project. With the M.2 SSD, I can store all my applications and data, and it also allowed me to install the PI OS and boot the system faster and more reliably. All in all, the Argon ONE V2 case was the perfect addition to my Raspberry Pi setup.
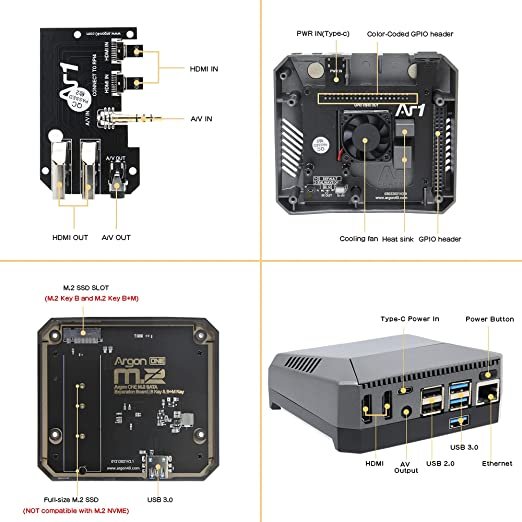
I have to say, one of the most appealing features of the Argon ONE case is the option to embed the M.2 SSD driver. It’s a game-changer for those who want to avoid the risks of corruption that usually come with a USB installation. Luckily for me, I had a WD Blue 250GB lying around unused. This was more than enough disk space to partition only the necessary amount for booting, and use the remaining space for other purposes, such as my Docker volumes.
Reference: The idea for this case didn’t come up out of nowhere, I got inspired by this ETA PRIME YouTube channel video here.
The beauty of Docker
Once everything was set up, I installed Docker and Docker Compose. Which was a creative way to start learning Docker. I immediately fell in love with the practical way to set up networks and the deployment of containers. It’s so easy to understand, manage, and get an application up and running in a matter of seconds.
Containers that will blow your mind
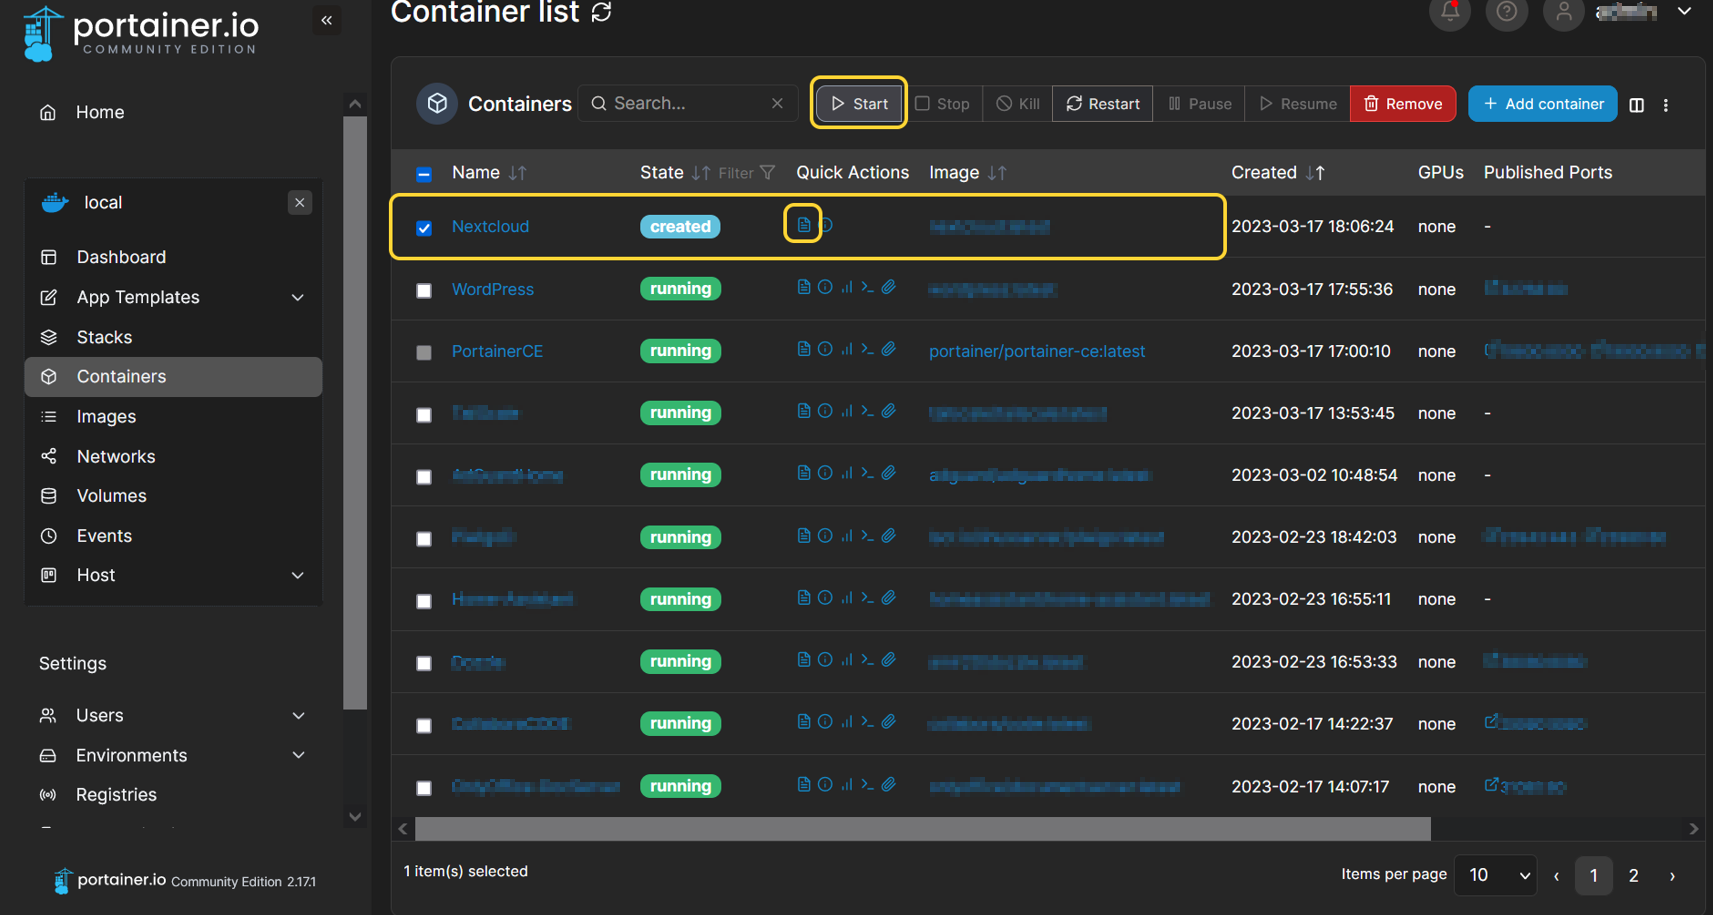
So, the first container I installed was Portainer, a universal container management tool that can work with both Docker and Kubernetes (by the way, this will be my next journey) to make the deployment and management of containerized applications and services easier and more efficient. The best part? It was so easy to use! I had to find the container in stack format or just get to know the network, environment variables, and volumes, and do all the processing using the GUI interface.
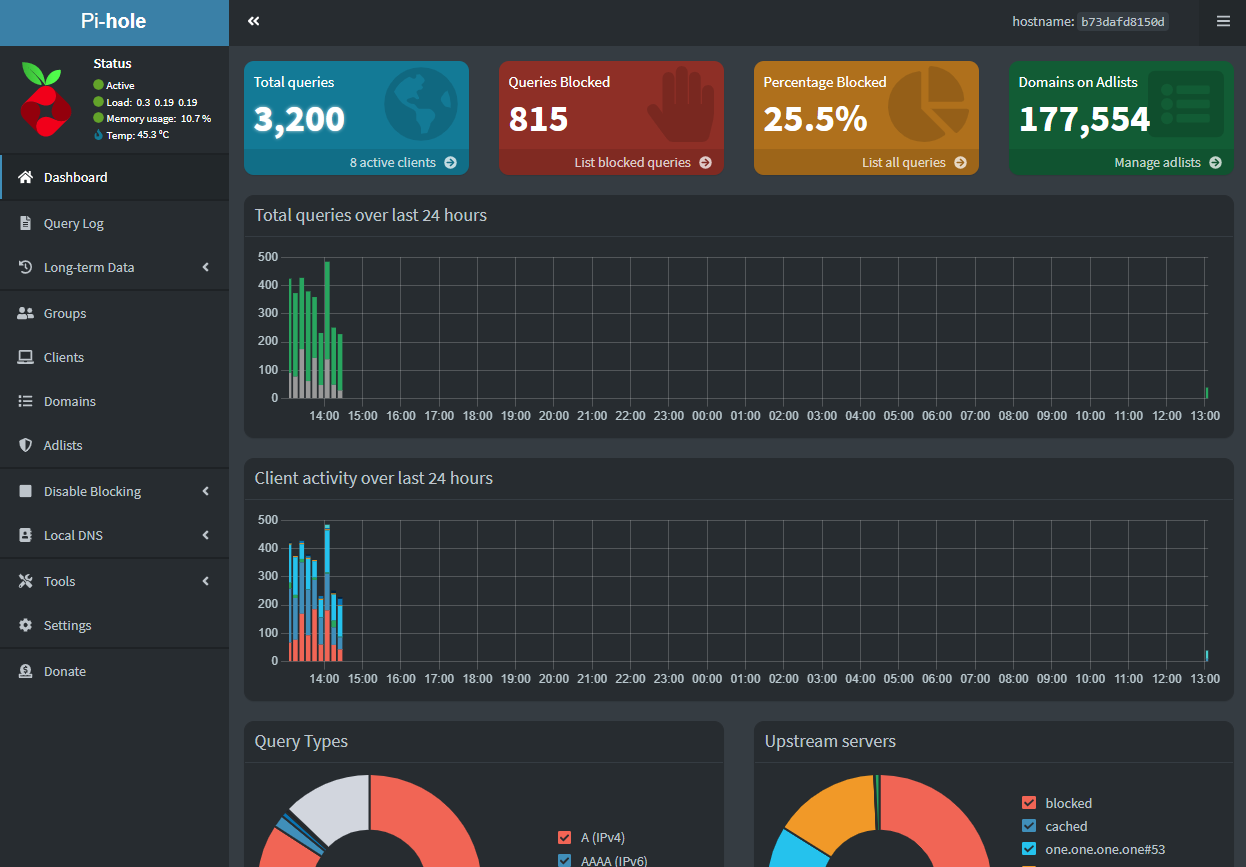
Next up, I installed Pi-hole, a network-wide ad blocker that blocks ads, trackers, and malware at the DNS level.
I also installed Guacamole, which is a clientless remote desktop gateway. It’s great for me to have all my home lab SSH and internal-only devices and services connected in a single page, which was especially handy when I needed to connect my internal resources from an external location.

Although I use Sophos SSL VPN to access my internal network securely from outside, I added an extra resource for secure remote connections using the Cloudflare tunnel, which required installing the Cloudflare tunnel container.

I must say, the remote access solution I came up with using Sophos remote SSL VPN and Cloudflare with Guacamole is pretty impressive. It’s both secure and convenient, and I believe it deserves an entire article dedicated to breaking down the steps. I took inspiration from DB Tech’s YouTube channel, which has some amazing content about self-hosting apps. While I came up with the idea to use Sophos SSL VPN myself, some parts of the configuration were influenced by his video.
Another very cool project I wanted to try was Nextcloud,

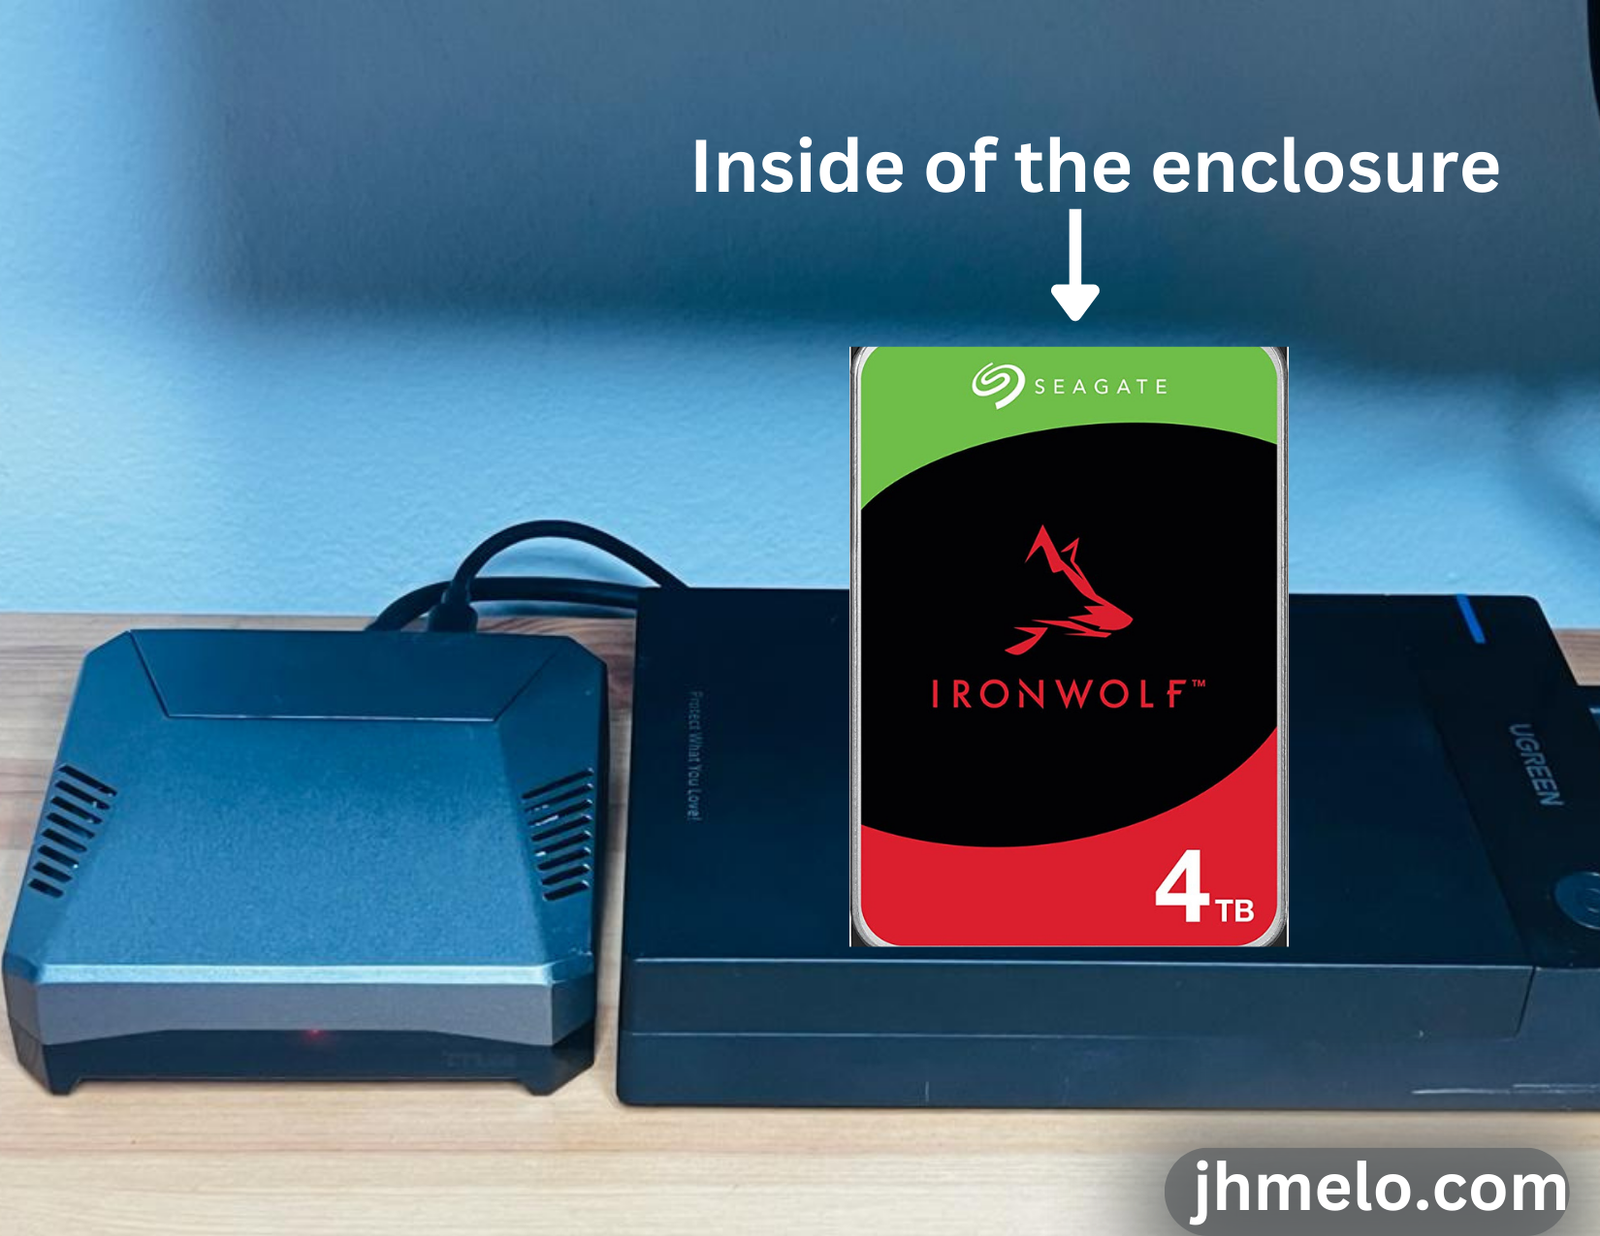
which I intended to use as my personal cloud for basic file storage needs. For that purpose, I needed additional disc space, so I discovered the ideal solution was to attach an external HDD using an external enclosure, which complimented my PI ARGON ONE docker server perfectly.
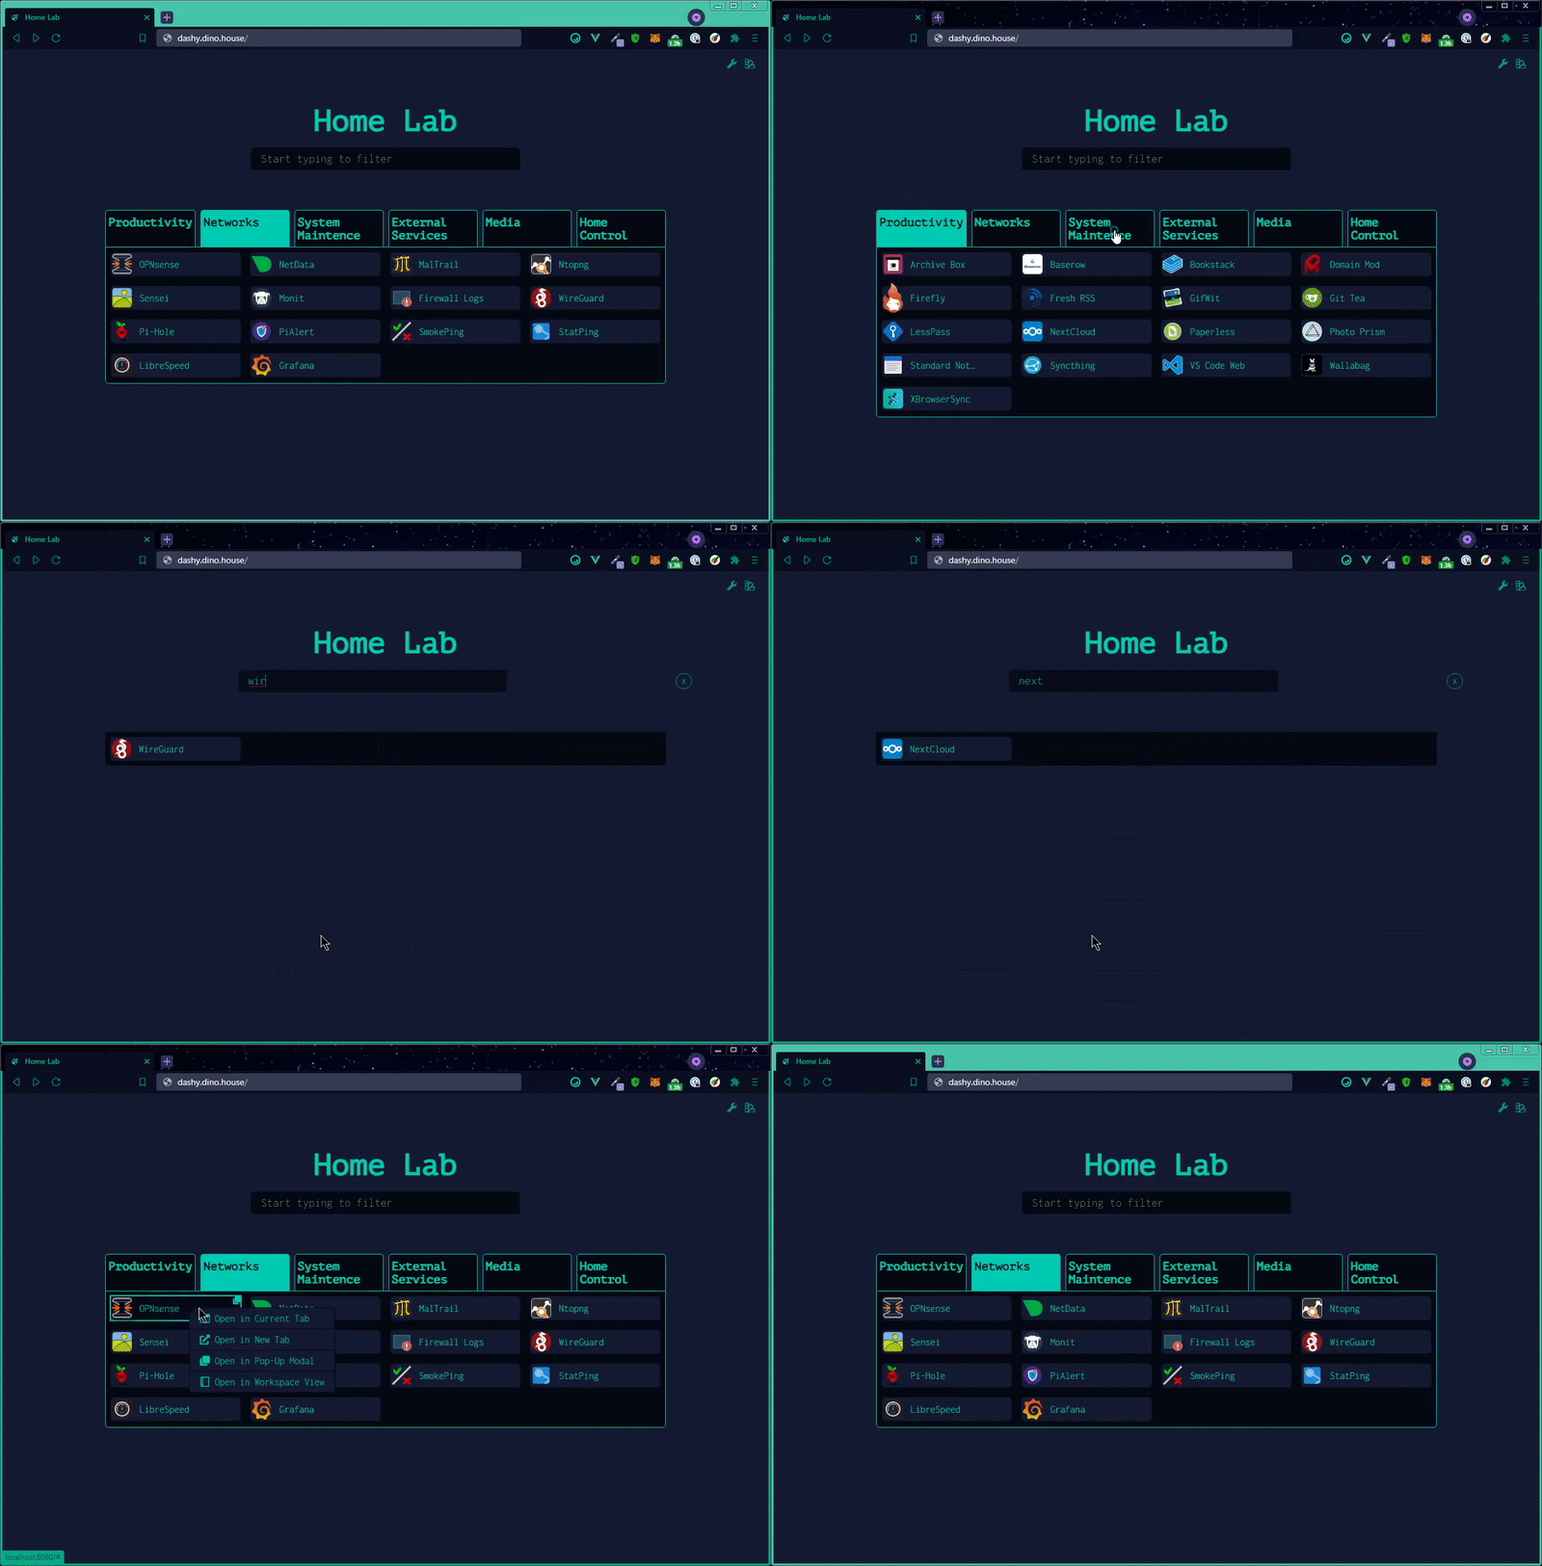
Last but not least, I set up Dashy, an open-source project, as my smart dashboard and bookmarks. It has a beautiful interface and serves as the homepage for all of my browsers, housing all my links and resources. Plus, with all its extra features, like the ability to integrate with various APIs and services, I haven’t even scratched the surface of what it can do. Trust me, if you’re looking for a smart dashboard solution, Dashy is the way to go. check the link to their main documentation on GitHub.
With these apps running on my PI server, I’m honestly amazed at how much I can accomplish with such a small device. And believe it or not, I still have some throughput left for other container projects I plan to tackle soon. The 8GB RAM PI option was definitely the right choice!
Of course, I’m not talking about running heavy-duty applications on this thing, but for home use, it’s absolutely perfect. If you’re looking to learn about Docker and want to deploy multiple lightweight applications on the same device, I highly recommend giving Docker on a Raspberry Pi 4 with the Argon ONE V2 case a try. Trust me, you won’t be disappointed.

